How to Tune Pressure Advance in Klipper – Step-by-Step Calibration Guide
Introduction
Pressure Advance is a core feature of the Klipper firmware that compensates for the lag between extrusion commands and filament flow. By accurately configuring this parameter, one can eliminate ghosting, improve corner fidelity, and achieve smoother surface finishes. This guide will walk the reader through the entire calibration process, from preparing the printer to validating the results, while recommending reliable tools that simplify each phase.
The guide assumes a basic familiarity with Klipper, a functional 3D printer, and access to a computer or touchscreen interface. Readers will emerge with a calibrated printer that consistently produces high‑quality parts, reduced post‑processing, and a deeper understanding of how extrusion dynamics affect print outcomes.
What You'll Need
- A printer running Klipper firmware with access to the web UI or a touchscreen controller.
- A filament spool of the material you intend to use for regular prints.
- A calibrated bed level and nozzle height.
- Optional but highly beneficial tools:
- Creality Sonic Pad – a 7‑inch touchscreen that runs Klipper firmware, provides OTA updates, and offers a user‑friendly interface for editing printer.cfg files.
- BIGTREETECH ADXL345 Sensor – a plug‑and‑play accelerometer for input shaping, which works in tandem with Pressure Advance to suppress vibrations.
- Creality Sonic Pad Bundle – includes the Sonic Pad plus a 35‑piece toolkit for cable management, nozzle cleaning, and routine maintenance.
Step-by-Step Instructions
1. Prepare the Printer and Firmware
Begin by ensuring that the printer firmware is up to date. If you are using a traditional Raspberry Pi setup, consider installing the Creality Sonic Pad. This device runs a 64‑bit processor, offers a responsive 7‑inch touch screen, and simplifies firmware updates via OTA. Its price of $129.99, a rating of 3.7/5 from 108 reviews, and wide compatibility with Ender series printers make it a cost‑effective alternative to a full‑size Pi.
Connect the Sonic Pad to the printer using the supplied USB cable, power it on, and navigate to the web UI. Verify that the Klipper configuration file (printer.cfg) is accessible. If you prefer a more comprehensive setup, the Creology Sonic Pad Bundle provides additional tools such as a spade scraper, nozzle‑cleaning needles, and precision tweezers, all of which aid in routine maintenance before calibration. The bundle is priced at $123.56 and carries a 5‑star rating from satisfied users.
2. Install an Accelerometer for Input Shaping (Optional)
While Pressure Advance addresses extrusion lag, high‑speed printing can still suffer from resonant vibrations. Installing an accelerometer like the BIGTREETECH ADXL345 Sensor enables Klipper's input shaping feature, which works synergistically with Pressure Advance to produce smoother prints. This sensor plugs into a USB‑C port, requires no soldering, and is compatible with most Klipper‑enabled boards. Priced at $15.99 with a 4.7/5 rating from 76 reviews, it offers excellent value for hobbyists seeking professional‑grade vibration control.
Mount the sensor on the side of a StealthBurner hotend or near the nozzle, following the included mounting instructions. Once connected, run the resonance test from the Sonic Pad UI to generate a frequency profile. Save the generated input shaping parameters in your printer.cfg under the [input_shaper] section.
3. Generate a Test Print for Calibration
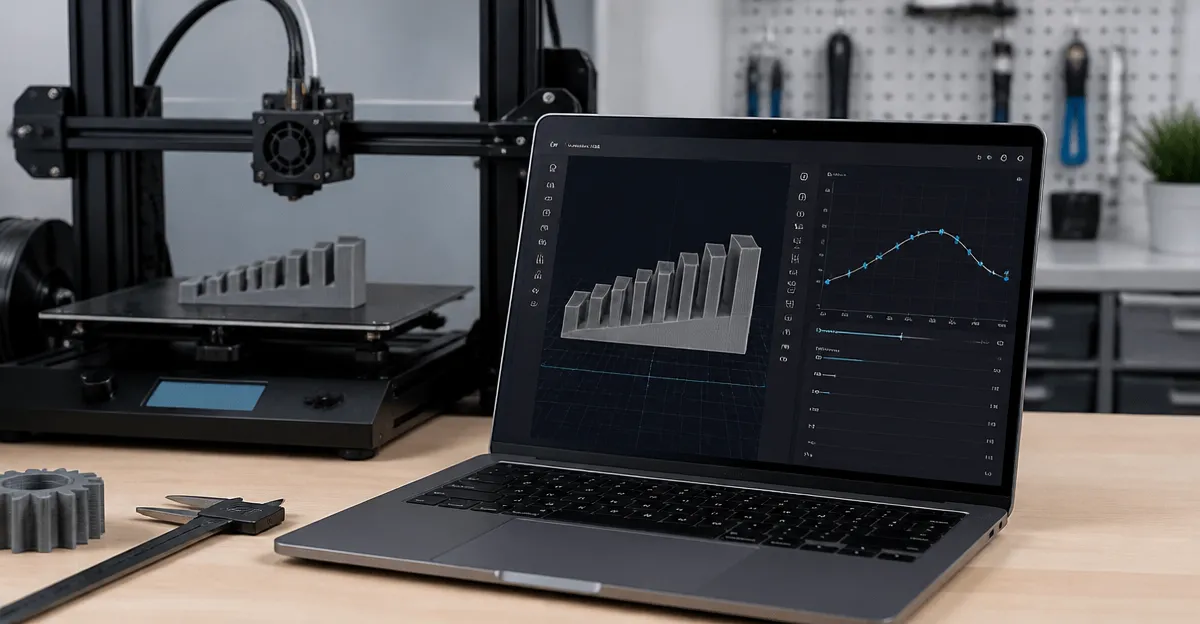
Download a standard Pressure Advance calibration model, such as the “Pressure Advance Tower” G‑code file. This model consists of a series of squares with incremental speed changes, allowing the printer to reveal under‑extrusion or over‑extrusion at each step. Upload the file to the printer via the Sonic Pad’s web interface or directly from a USB drive.
Before starting the print, set the initial Pressure Advance value to 0.0 in the printer.cfg. This ensures that the first run reflects the baseline behavior of the extruder without compensation.
4. Measure Extrusion Lag Using the Test Print
Start the tower print and observe the corners where the speed changes. At low speeds, the extrusion should be uniform; at higher speeds, you may notice gaps or bulges. Record the speed at which the first visible defect appears. This speed correlates with the extruder’s response time.
If you have the ADXL345 Sensor installed, you can also capture the printer’s acceleration data during the test. The sensor will log vibration spikes that indicate the exact moment the extruder lags behind the motion commands.
5. Calculate the Initial Pressure Advance Value
Klipper defines Pressure Advance (PA) as a factor that multiplies the extrusion rate by the square of the instantaneous velocity. A common starting point is PA = 0.02 mm³/mm. To refine this value, use the formula:
PA = (Observed Defect Speed – Baseline Speed) × Calibration Constant
The Calibration Constant depends on filament type and nozzle diameter; for a 0.4 mm nozzle and PLA, a typical constant is 0.04. Insert the measured speed from the previous step and compute the initial PA value.
6. Update the Firmware Configuration
Open the printer.cfg file via the Sonic Pad UI. Locate the [extruder] section and add or modify the line:
pressure_advance: 0.03
Replace 0.03 with the value you calculated. Save the file and restart the Klipper service from the UI. The restart ensures that the new parameter takes effect.
7. Re‑Run the Calibration Print
Print the Pressure Advance Tower again with the updated value. Examine the corners for any remaining defects. If the print still shows under‑extrusion at high speeds, increase the PA value in increments of 0.01 and repeat the test. Conversely, if you observe over‑extrusion (bulging), reduce the value by the same increment.
Continue this iterative process until the transition between speed zones is seamless, indicating that the extruder is delivering the correct filament volume at all speeds.
8. Validate with a Real‑World Model
After achieving a clean tower, select a representative model such as a calibration cube or a functional part you regularly print. Use the same filament and print settings as your typical workflow. Observe surface finish, dimensional accuracy, and any signs of ringing. A well‑tuned Pressure Advance should eliminate ghosting on sharp corners and produce uniform wall thickness.
If you notice residual ringing, consider revisiting the input shaping parameters generated by the ADXL345 Sensor or the alternative BIGTREETECH S2DW Sensor. The S2DW offers higher sensitivity and a USB‑C connection, priced at $13.99 with a 4.7/5 rating, and can be a drop‑in replacement for the ADXL345 if you require finer resolution.
Tips & Pro Tips
- Perform the calibration at the same ambient temperature and with the same filament batch you will use for production prints. Temperature fluctuations affect filament viscosity and can skew PA values.
- Use the Sonic Pad’s built‑in G‑code console to issue the
SET_PRESSURE_ADVANCE ADVANCE=0.03command for rapid testing without editing the configuration file. - When adjusting PA, change only one variable at a time. Simultaneous changes to acceleration or jerk can mask the true effect of Pressure Advance.
- Document each PA value you test along with the observed defect speed. A simple spreadsheet helps track progress and prevents repeating ineffective values.
- If you own the Klippermate Tennis Stringer, you can use it to tension test your filament spools, ensuring consistent filament diameter before calibration. Although designed for racquet strings, its drop‑weight tension system provides precise tension control, priced at $379.00 with a 4.3/5 rating.
Troubleshooting
- Problem: The tower shows inconsistent extrusion at low speeds.
Solution: Verify that the nozzle temperature is stable and that the filament is not tangled on the spool. Re‑run the test after correcting any feed issues. - Problem: After updating PA, the printer refuses to start prints.
Solution: Check the printer.cfg for syntax errors. The Sonic Pad will display error logs; correct any misplaced colons or indentation. - Problem: Input shaping data is missing or the ADXL345 is not recognized.
Solution: Ensure the sensor is connected via a reliable USB‑C cable. The sensor’s plug‑and‑play nature requires no additional drivers, but a faulty cable can prevent detection. Replace the cable if necessary.
Conclusion
Calibrating Pressure Advance in Klipper is a systematic process that transforms raw extrusion lag into precise material deposition. By following the steps outlined above—preparing the firmware, optionally installing an accelerometer, printing a calibration tower, calculating the appropriate PA value, and validating with real‑world models—one can achieve superior print quality, reduced ghosting, and consistent dimensional accuracy. The recommended tools, such as the Creality Sonic Pad and the BIGTREETECH ADXL345 Sensor, streamline the workflow and provide reliable data for fine‑tuning. Armed with this knowledge, readers can confidently tackle advanced printer optimizations and enjoy consistently excellent prints.
Products Mentioned in This Guide
Frequently Asked Questions
What is Pressure Advance in Klipper and why is it important?
Pressure Advance compensates for the delay between extrusion commands and filament flow, reducing ghosting and improving surface quality.
How do I prepare my printer before calibrating Pressure Advance?
Ensure the printer runs Klipper, the bed is level, nozzle height is calibrated, and you have the filament you plan to use.
What test print is recommended for tuning Pressure Advance?
A simple single‑wall cube or a series of straight lines at varying speeds helps reveal under‑ and over‑extrusion caused by incorrect settings.
Which G‑code command is used to set the Pressure Advance value in Klipper?
Use the SET_PRESSURE_ADVANCE command, e.g., SET_PRESSURE_ADVANCE ADVANCE=0.050.
How can I verify that my Pressure Advance calibration was successful?
Print a calibration model and check for reduced ghosting, sharper corners, and consistent filament width across different speeds.