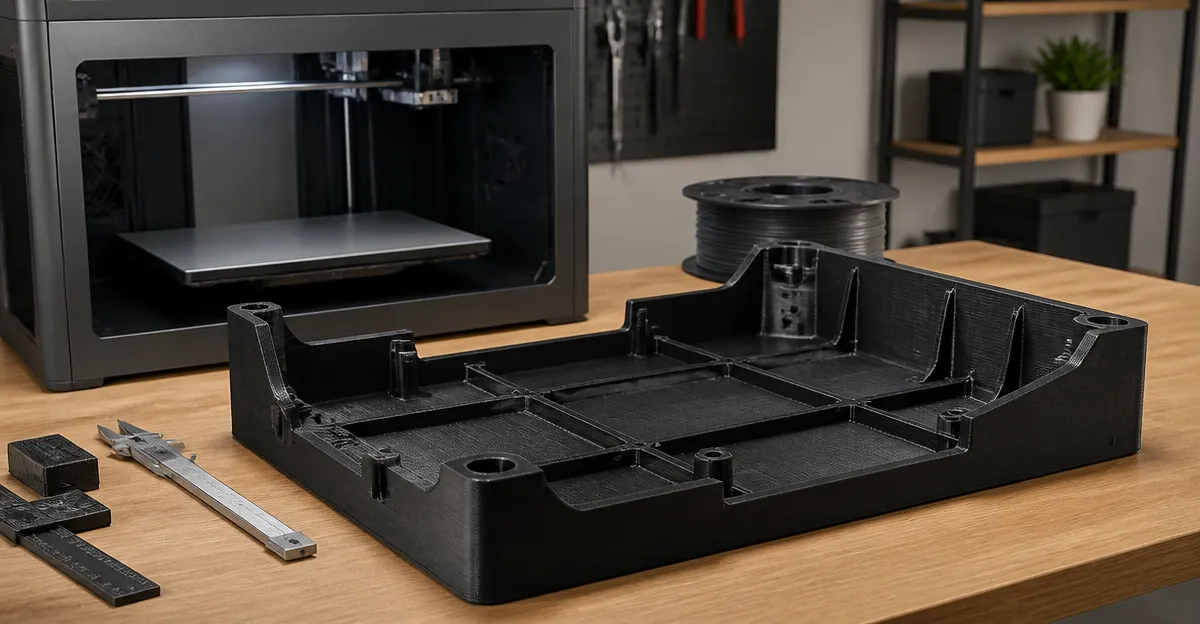
How to Control 3D Print Warping on Large ABS Parts: Proven Tips, Settings & Fixes
Introduction
Warping is one of the most frustrating defects that appears when printing large ABS components. It occurs because ABS contracts as it cools, pulling the corners of the part away from the build plate. This guide explains how to prevent warping, which settings produce the most stable results, and which tools—especially high‑quality filaments—make the process reliable. By following the steps, the reader will be able to produce dimensionally accurate, mechanically strong ABS parts without costly trial and error.
What You'll Need
- ABS filament with consistent diameter and low volatile content (examples are listed in the Products Mentioned section).
- A heated print bed capable of reaching at least 100°C.
- An enclosure or a draft‑free printing area.
- Adhesion aids such as a PEI sheet, glue stick, or ABS slurry.
- Basic tools: scraper, tweezers, and a filament dryer if the environment is humid.
1. Choose a High‑Quality ABS Filament
The foundation of a warp‑free print is a filament that maintains dimensional accuracy and resists moisture absorption. Polymaker ABS Filament offers a Vicat softening temperature of 104°C, a tolerance of +/- 0.03 mm, and a vacuum‑sealed package that keeps moisture out. Its impact resistance and low odor make it suitable for functional parts that will experience mechanical stress.
Alternative options include Creality ABS Filament, which emphasizes reduced warping on large objects, and IEMAI ABS Filament, which is formulated to minimise layer separation and cracking. Selecting a filament with a tight diameter tolerance (<+/- 0.02 mm to +/- 0.03 mm) ensures consistent extrusion, a critical factor for large prints.
Why this matters: Inconsistent filament diameter leads to fluctuating extrusion rates, creating internal stresses that amplify warping. A filament that is both heat‑resistant and low‑odor reduces the need for excessive ventilation, allowing the printer enclosure to maintain a stable temperature.
2. Prepare the Build Plate and Enclosure
ABS adheres best to surfaces that are slightly rough and heated evenly. Apply a thin layer of a high‑temperature glue stick or an ABS slurry (ABS dissolved in acetone) to a PEI sheet. The adhesive creates a chemical bond that resists the shrinking forces during cooling.
Enclose the printer to eliminate drafts. A simple DIY enclosure can be built from acrylic panels or a large cardboard box lined with insulation. The goal is to keep the ambient temperature within 5°C of the bed temperature throughout the print. If the printer already includes an enclosure, verify that the door seals tightly.
Product recommendation: While the guide does not prescribe a specific enclosure, the Creality ABS Filament packaging mentions a “dry and ventilated environment,” reminding users that proper storage and a controlled print space are essential.
3. Calibrate Bed Temperature and Nozzle Settings
Set the heated bed to 100–105°C. This temperature range matches the softening point of most ABS filaments and provides enough thermal mass to keep the lower layers from cooling too quickly. For the nozzle, use the temperature range recommended by the filament manufacturer:
- Polymaker ABS: 250–255°C
- Creality ABS: 255–260°C
- IEMAI ABS: 265°C (optimal for Bambu Lab printers)
- ELEGOO ABS: 250–260°C
Higher nozzle temperatures improve layer bonding, reducing the internal stresses that cause warping. However, avoid exceeding the filament’s maximum temperature, as this can lead to degradation and increased odor.
4. Adjust Print Speed and Layer Height
Slower print speeds give each layer more time to adhere before the next one is deposited. For large ABS parts, a speed of 40–60 mm/s is recommended. Reduce the layer height to 0.1–0.2 mm to increase the number of cooling cycles per unit height, which helps maintain a uniform temperature gradient.
When using a filament with a tighter tolerance, such as SUNLU ABS Filament, the printer can maintain consistent extrusion even at slower speeds, resulting in smoother surfaces and fewer visible layer lines.
5. Employ Brims, Rafts, or Skirts
Adding a brim of 5–10 mm around the part increases the surface area in contact with the heated bed, distributing the contraction forces more evenly. For especially tall or thin-walled objects, a raft provides an additional thermal buffer, though it consumes more material.
Most slicers allow you to enable these features with a single click. When using ELEGOO ABS Filament, the manufacturer advises an enclosed printer; a brim combined with an enclosure yields the most reliable results.
6. Manage Filament Moisture
ABS is hygroscopic; absorbed moisture creates bubbles that lead to weak layer adhesion and surface defects. Store filament in its original vacuum‑sealed bag with desiccant until ready to print. If the filament has been exposed to humidity, dry it in a filament dryer at 70°C for at least 4 hours before use.
Polymaker’s packaging includes a resealable vacuum bag, and IEMAI’s product description highlights low odor and safe emissions, indicating that the filament is shipped dry and ready for immediate use.
7. Fine‑Tune Retraction and Cooling
Set retraction distance to 5 mm and retraction speed to 50 mm/s (values recommended by SUNLU). Excessive cooling air can exacerbate warping; therefore, set the part cooling fan to 0 % for the first few layers and no more than 30 % for the remainder of the print. This approach keeps the lower sections hot while allowing the upper layers to solidify gradually.
Tips & Pro Tips
- Use a heated enclosure. If your printer does not have a built‑in enclosure, wrap the printer in a thermal blanket and seal any gaps with tape.
- Pre‑heat the build plate for at least 5 minutes. This stabilises the temperature before the first layer touches the surface.
- Monitor the first layer closely. Adjust Z‑offset until the filament is slightly squished; this improves adhesion and reduces the chance of early lifting.
- Consider a sacrificial raft for very large parts. The raft can be removed after printing, leaving a perfectly flat bottom.
- Upgrade to a stainless‑steel or glass bed. These surfaces retain heat longer than aluminium, helping to keep the print warm.
- Dry filament regularly. Even sealed spools can absorb moisture over time; a simple dry‑box extends filament life.
Troubleshooting
| Problem | Possible Cause | Solution |
|---|---|---|
| Corner lifting after 2–3 layers | Insufficient bed temperature or poor adhesion aid | Increase bed to 105°C, apply fresh glue stick or ABS slurry, and ensure the build surface is clean. |
| Layer separation in tall prints | Uneven cooling or low nozzle temperature | Raise nozzle to the upper end of the filament’s range, reduce part‑cooling fan speed, and consider a slower print speed. |
| Stringing or oozing | Excessive retraction settings | Adjust retraction distance to 4–5 mm and retraction speed to 40–50 mm/s; verify that the filament is dry. |
| Filament snapping on the spool | Improper spool storage | Store the spool in its vacuum‑sealed bag with desiccant; avoid exposing the filament to direct sunlight. |
Conclusion
Controlling warping on large ABS prints requires a combination of proper filament selection, precise temperature control, and an environment that eliminates drafts. By following the seven steps outlined above—choosing a reliable filament such as Polymaker ABS Filament, preparing an enclosed heated bed, and fine‑tuning slicer settings—readers can achieve consistent, dimensionally accurate parts. Implement the tips, monitor the first layers, and adjust as needed; the result will be strong, functional ABS components ready for real‑world applications.
Products Mentioned in This Guide
Frequently Asked Questions
What bed temperature is optimal for preventing ABS warping?
Set the heated bed to at least 100 °C (often 100‑110 °C) to keep the first layers warm and reduce contraction.
How does an enclosure help reduce warping on large ABS prints?
An enclosure maintains a stable, draft‑free environment, keeping the print warm and preventing rapid cooling that causes warping.
Which adhesion aids work best for ABS on a heated bed?
PEI sheets, a thin layer of glue stick, or an ABS slurry provide strong first‑layer adhesion and minimize edge lift.
Why is filament quality important for warp‑free ABS prints?
Consistent diameter and low volatile content ensure uniform extrusion and predictable cooling, reducing internal stresses that cause warping.
What slicer settings should be adjusted to minimize ABS warping?
Use a slower print speed for the outer walls, disable or limit cooling fans, and enable a gradual temperature ramp‑down after the print finishes.