Introduction
In this guide the reader will learn how to remove a blockage from a 3D printer nozzle without taking the hot‑end apart. The method relies on precise temperature control, filament manipulation, and simple tools that are already available in most maker spaces. By following the step‑by‑step instructions one can restore reliable extrusion in under thirty minutes. The technique saves time, reduces wear on components, and eliminates the risk of damaging delicate parts.
What You’ll Need
- SUNLU PLA Filament – 1.75 mm, 1 kg spool, $12.59, rating 4.4/5 (11,181 reviews). The filament is dimensionally accurate to ±0.02 mm and is praised for smooth feeding, making it ideal for cold‑pull cleaning.
- Bambu Lab P1S Combo – Multi‑color printer with AMS, $549.00, rating 4.4/5 (589 reviews). Its rapid heating element and auto‑bed leveling simplify temperature management during the unclogging process.
- Anycubic Kobra X – 4‑color printer, $329.99, rating 4.5/5 (78 reviews). The LeviQ 3.0 automatic bed leveling and quiet operation provide a stable platform for repeated heating cycles.
- Bambu Lab A1 Mini – Compact printer with LED lamp kit, $234.00, rating 4.4/5 (84 reviews). Its beginner‑friendly interface and fast, quiet printing make it a convenient test bench for nozzle maintenance.
- Precision brass cleaning needle (commonly sold separately), tweezers, and a heat‑resistant glove.
Step 1: Prepare the Printer and Workspace
Begin by placing the printer on a stable surface and ensuring the power supply is securely connected. Power on the machine and allow it to complete its self‑check routine; this confirms that sensors such as the thermal protection are functioning correctly. Remove any filament currently loaded in the extruder, then clean the exterior of the nozzle with a soft cloth to prevent debris from falling into the hot end during the procedure. Using a printer such as the Bambu Lab P1S Combo is advantageous because its enclosed design maintains a consistent ambient temperature, reducing the likelihood of rapid cooling that can cause filament to solidify inside the nozzle.
Step 2: Heat the Nozzle to the Recommended Temperature
Access the printer’s temperature control panel and set the hot‑end to the melting point of the filament you will use for the cold pull. For PLA the optimal range is 200‑230 °C; the SUNLU PLA Filament specification recommends exactly this window, ensuring the filament becomes sufficiently viscous without degrading. Allow the nozzle to reach the target temperature and hold for at least thirty seconds; this stabilises the thermal gradient and permits any softened debris to become mobile. On the Anycubic Kobra X, the rapid heating capability of up to 600 mm/s print speeds is paired with a responsive hot‑end, so the temperature will be achieved in a matter of seconds, streamlining the workflow.
Step 3: Perform a Cold Pull Using PLA Filament
Load a fresh length of SUNLU PLA Filament into the extruder. Manually feed the filament until it extrudes a small blob from the nozzle, confirming that the melt channel is open. Next, reduce the hot‑end temperature to approximately 130 °C, a point at which PLA remains solid enough to grip contaminants but is still pliable for extraction. Using a heat‑resistant glove, gently pull the filament upward; the filament should detach in one continuous piece, carrying with it any residual carbonised polymer or dust. If the filament breaks or tears, repeat the heating‑cooling cycle, as multiple passes are often required to fully clear stubborn residues. The high‑precision extrusion system of the Bambu Lab A1 Mini provides consistent force during the pull, reducing the chance of filament snapping.
Step 4: Inspect the Nozzle Interior
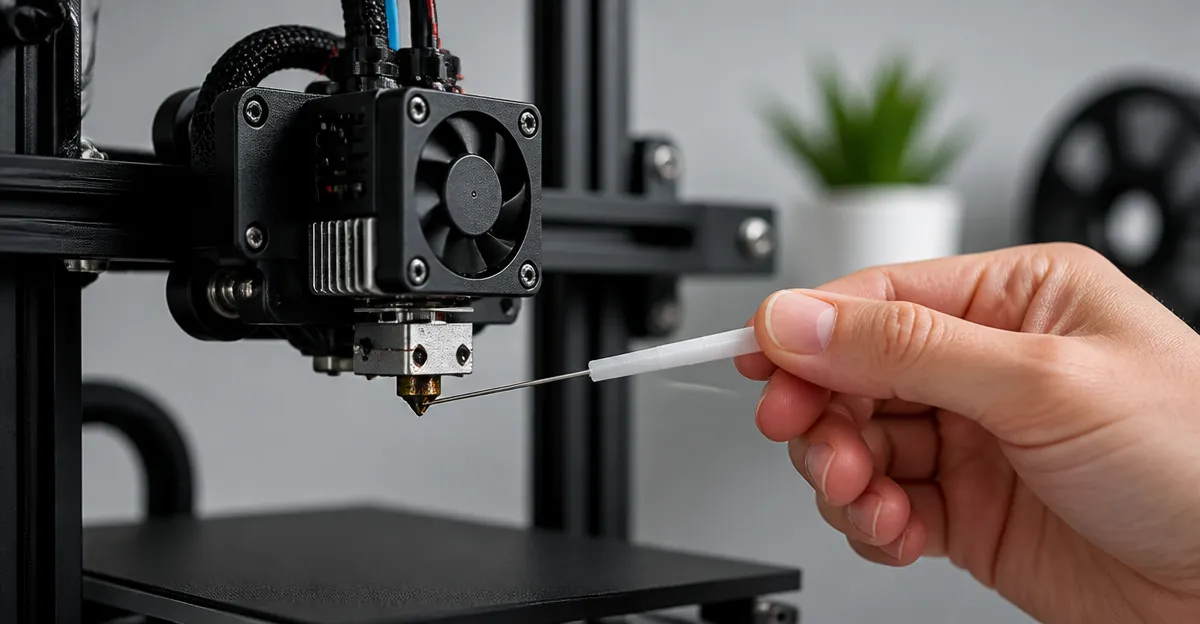
After the cold pull, inspect the exposed tip of the nozzle with a magnifying glass. Look for any remaining filament fragments, burnt particles, or metal shavings that may have originated from a previous print. If visible debris persists, use a precision brass cleaning needle to gently dislodge it; brass is softer than the nozzle alloy and will not cause scoring. Insert the needle carefully, rotating it clockwise and counter‑clockwise while applying minimal pressure. The needle is especially useful when the nozzle has been used with abrasive composites such as carbon‑filled filament, which are not recommended for the printers listed but may have been tried inadvertently.
Step 5: Re‑Load Filament and Verify Extrusion
Re‑install a fresh spool of filament—preferably the same SUNLU PLA Filament—and heat the nozzle back to the standard printing temperature of 200 °C. Execute a short extrusion test by commanding the printer to extrude 10 mm of filament; observe the output on a piece of white paper placed beneath the nozzle. A smooth, continuous bead indicates that the blockage has been cleared. If the filament still appears irregular, repeat the cold‑pull sequence once more before proceeding to a full‑scale print.
Tips & Pro Tips
- Perform the cold pull with filament that has a low moisture content; damp PLA can expand during heating and create additional clogs.
- When using the Bambu Lab P1S Combo, enable the auto‑bed leveling feature before starting; a level bed reduces the need for manual adjustments after the nozzle is cleaned.
- For printers equipped with an AMS (Automatic Material System) such as the P1S Combo, ensure the AMS is detached before heating the nozzle to avoid accidental filament feeding from the system.
- Schedule a preventive cold pull every 50 printing hours; this habit dramatically reduces the incidence of severe blockages.
- If the nozzle is repeatedly clogging, consider switching to a filament with a higher melt flow index, as this can improve flow through tight tolerances.
Troubleshooting
Problem: Filament does not extrude after the cold pull.
Solution: Verify that the hot‑end temperature reached the target value; a faulty thermistor can report an inaccurate temperature. Use the printer’s firmware diagnostics to check sensor readings. If the temperature is correct, repeat the cold‑pull process at a slightly higher temperature (e.g., 150 °C) to soften any remaining residue.
Problem: Filament breaks during the pull.
Solution: Reduce the cooling temperature to 120 °C and ensure the filament is fed slowly. A slower pull reduces shear stress on the filament, allowing it to maintain cohesion.
Conclusion
This guide has presented a reliable, non‑invasive method for clearing a clogged 3D printer nozzle using temperature control and a cold‑pull technique. By preparing the appropriate tools, heating the nozzle to the correct temperature, performing a controlled filament extraction, and verifying the result, one can maintain consistent print quality without disassembling the hot‑end. Regular maintenance using the described steps will extend the lifespan of the nozzle and minimise downtime, enabling creators to focus on design rather than troubleshooting.
Products Mentioned in This Guide
Frequently Asked Questions
How can I unclog a 3D printer nozzle without taking the hot‑end apart?
Heat the nozzle to the filament’s recommended temperature, then perform a cold‑pull with a piece of clean PLA filament to extract the blockage.
What temperature should I use for a cold‑pull cleaning method?
Heat the nozzle to about 10‑15 °C below the filament’s melting point (e.g., ~190 °C for PLA) before pulling the filament out.
Do I need any special tools for this unclogging technique?
No special tools are required; you only need a spool of compatible filament and a pair of tweezers or pliers for handling the filament.
Can the cold‑pull method damage my printer’s components?
When performed correctly, it avoids disassembly and minimizes wear, so it generally does not harm the hot‑end or other parts.
How long does it typically take to clear a nozzle using this method?
The entire process usually takes under thirty minutes, depending on the severity of the blockage.